Preface#
Recently, our company's external system was attacked and breached. As a result, the development of the system's operation and maintenance module was put on the agenda. Since the system is based on the B/S architecture, the new requirement assigned to me is to implement corresponding operations on the browser interface and perform backup and restore operations for the corresponding components.
First, I wanted to write a demo to conduct an experiment. Taking MySQL as an example, I used SpringBoot to pass different parameters through different URLs to control backup and restore operations. Since I had previously written the front-end myself, I now need to start learning all the steps of front-end and back-end development. So, it's time to start learning SpringBoot!
Creating a SpringBoot Project Using VSCode#
Generally, SpringBoot projects are created and developed using IDEA. However, due to financial constraints and a recent legal letter from NetSarang Computer (because someone in the department used the green version of Xshell, Xftp, and Xmanager), it is better to consider using VSCode to solve everything.
Since I had previously used Java, I already had JDK and Maven installed on my computer, so I skipped the environment configuration for these two parts and focused on adding the corresponding environment variables after installation.
-
Installing Extensions#
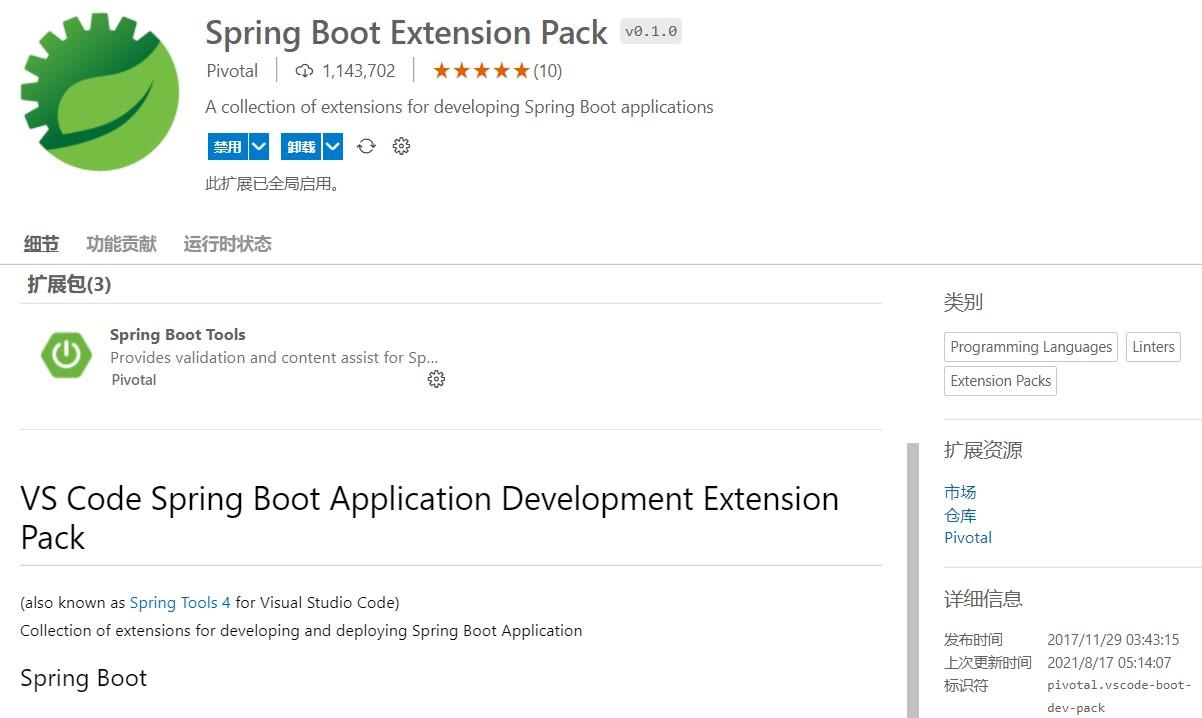
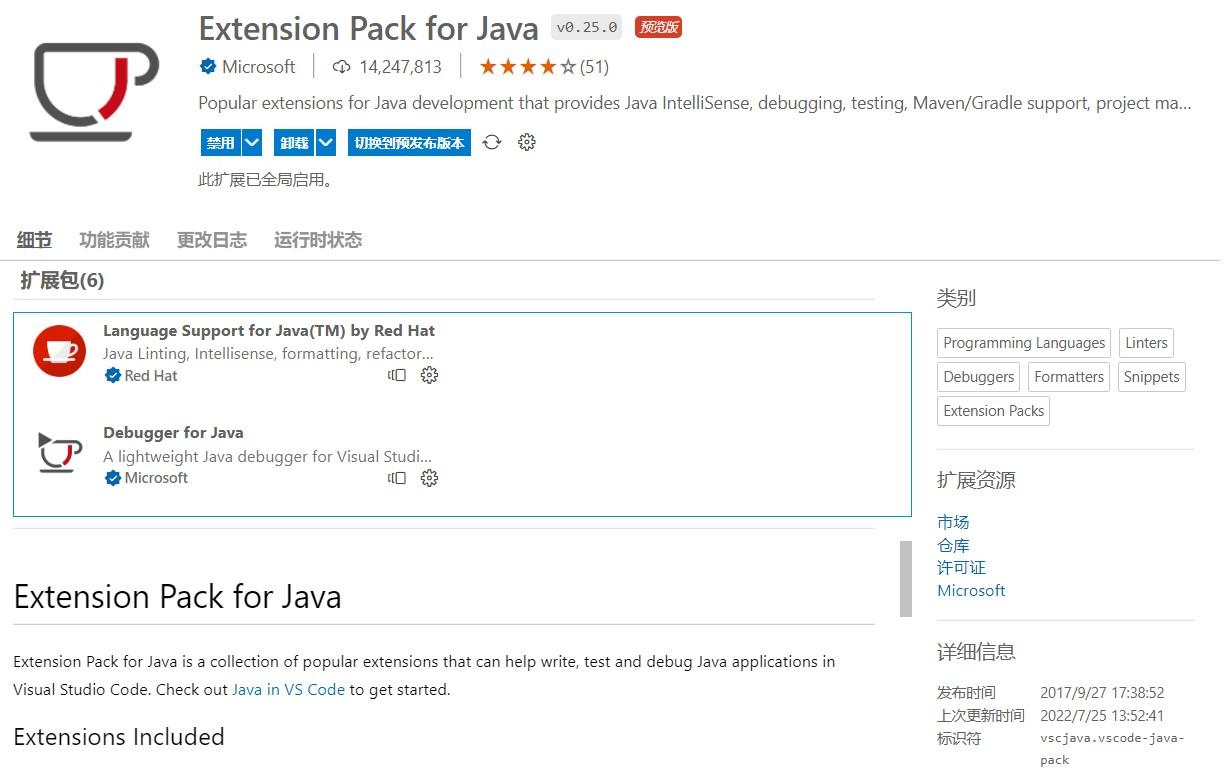
Install the following two extensions in VSCode:
-
Configuring Maven#
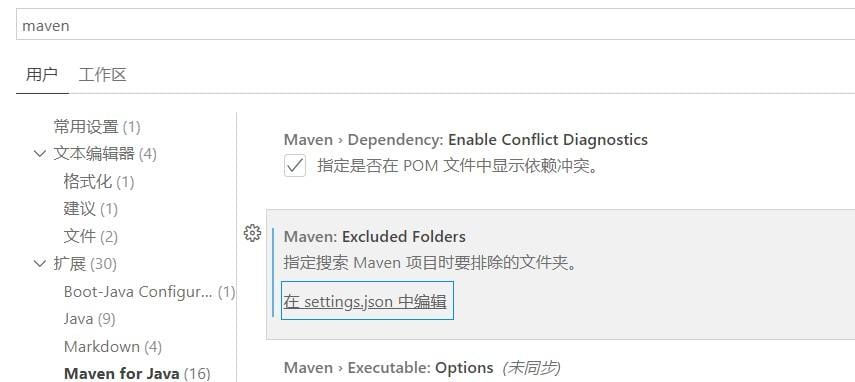
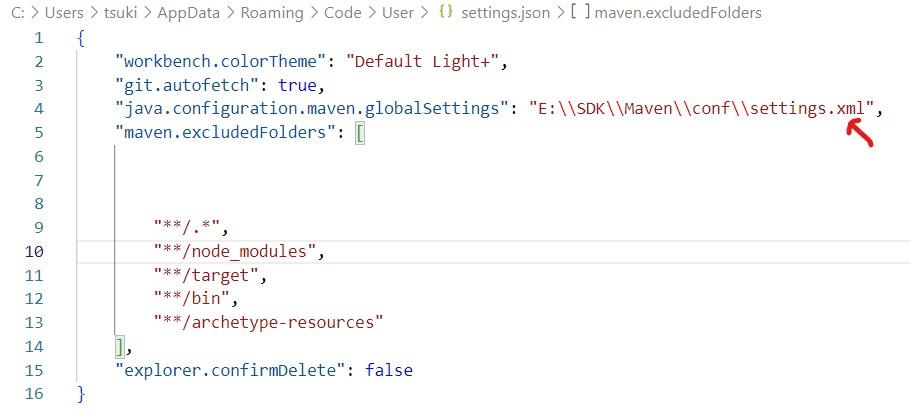
Open the settings by pressing 'ctrl+,' and search for Maven. Click on 'Edit in settings.json' in 'Maven for Java':
Add the global configuration for Maven:
-
Creating a SpringBoot Project#
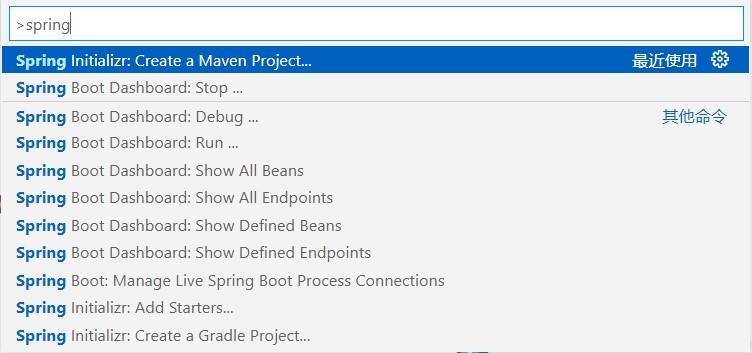
Use 'ctrl+shift+P' to bring up the command bar, type 'Spring', and select the option with 'Create a Maven Project', as shown in the following image:
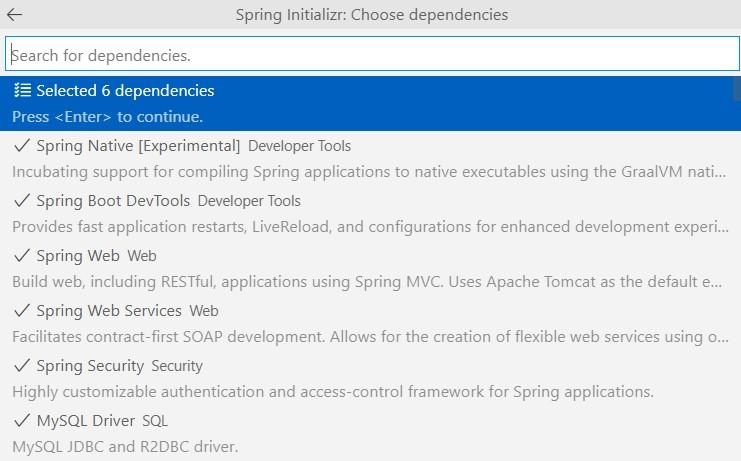
Choose version 2.7.3, language Java, and choose any package name and project name. Select Jar as the packaging format, and choose the Java version based on the installed JDK. Then, select the dependencies according to the actual project. I used the following dependencies:
Finally, select the folder where the project is located, and the project will be created.
Adding Missing Files to the Project#
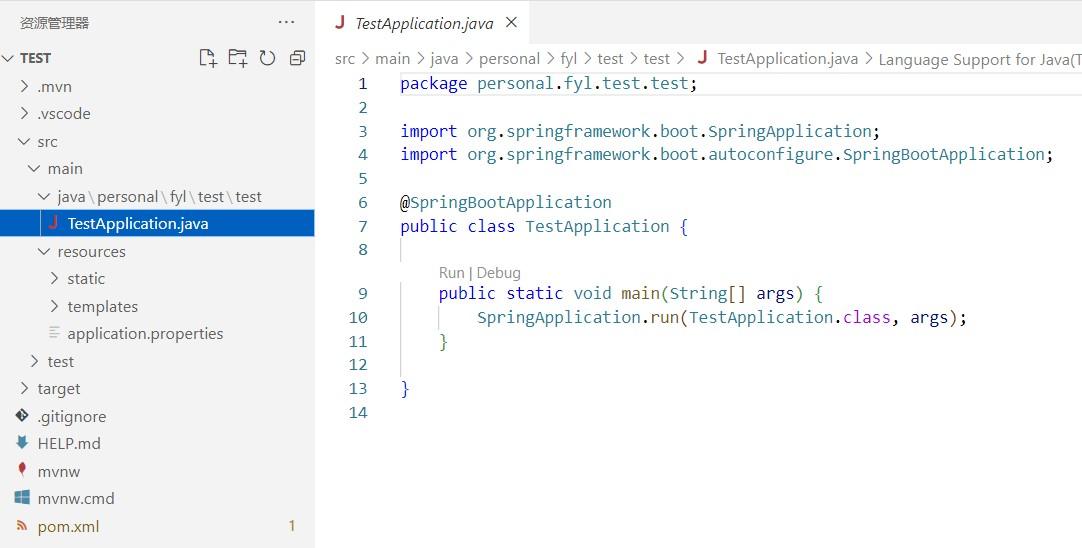
The created project is shown in the following image. We can see that the SpringBoot project created in this way lacks some files or code (such as Controller), so it cannot load specific information if run directly. Therefore, we need to add some files and code to verify that this project can run properly.
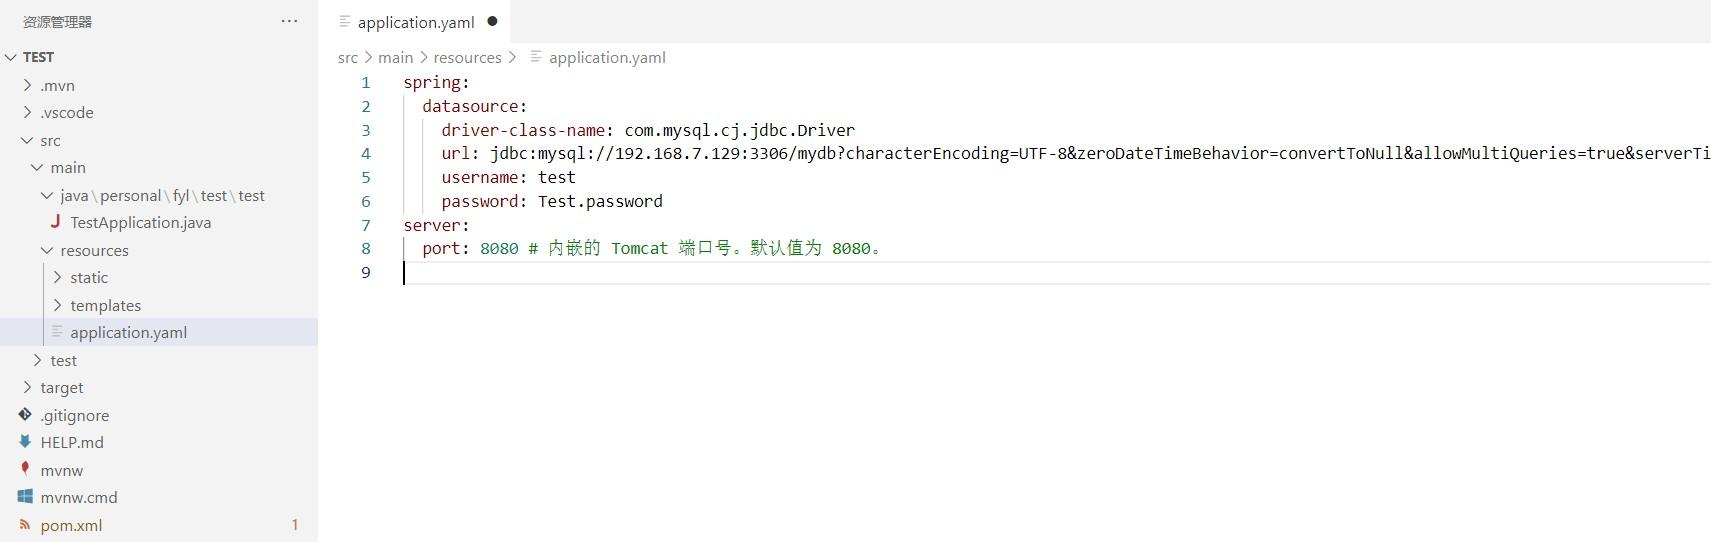
First, rename application.properties to application.yaml and add the following information, such as the port used by Tomcat and database connection information:
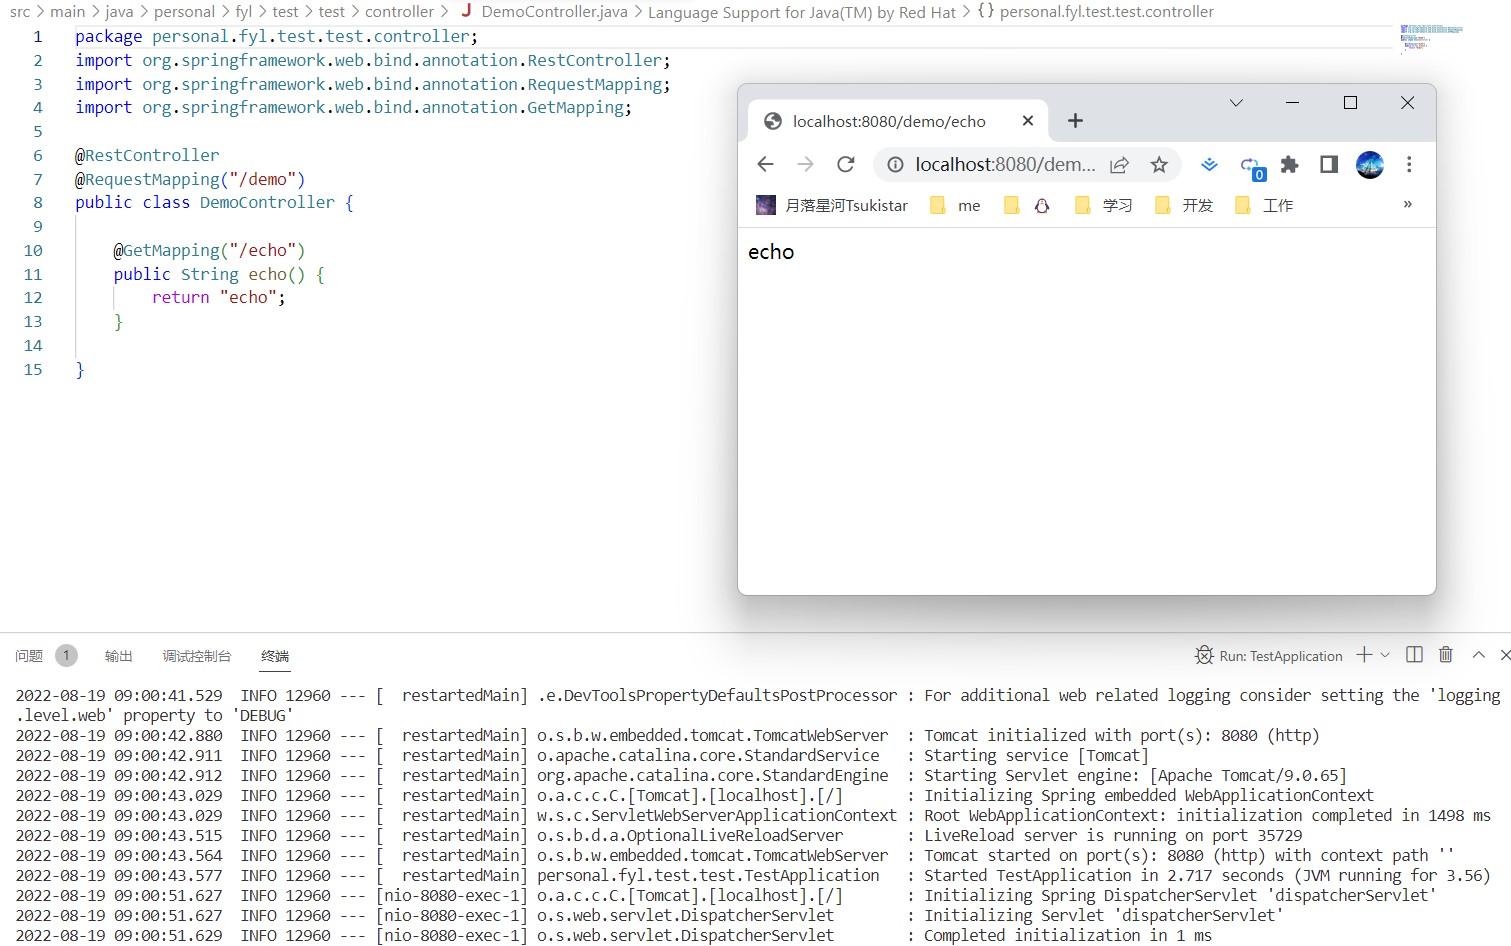
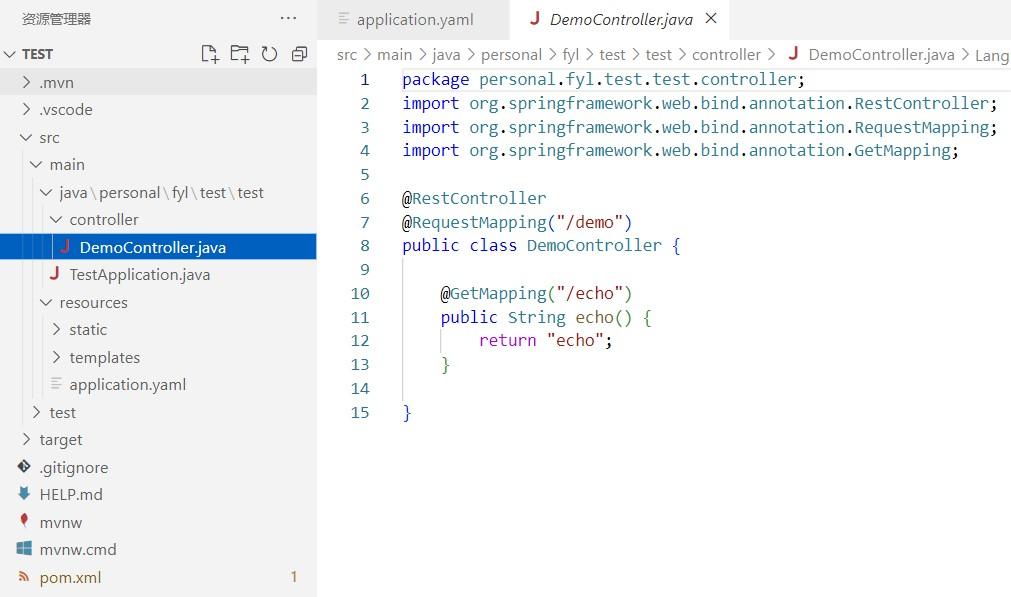
Then, add the corresponding Controller. In the directory where TestApplication.java is located, create a folder named Controller and create DemoController.java inside it. You can add corresponding code to display different information when accessing the corresponding path.
Running the Project#
Click the run button in the upper right corner, compile TestApplication.java, and run it. In the browser, enter 'http://localhost:8080/demo/echo' to see the corresponding return information: